Week 2 Lecture – What is interaction (ID6 Design Principles)
- Human Computer Interaction (HIC) = Interfaces
- New technology = new ways to do and use
- New tech is often drawn from imagination and scifi
- Interaction (reciprocal action/ casual relationship/ interaction between a user and product/ interaction-as-dialogue)
- GUIs (Screenbased/ heavily based on visual and auditory media and feedback)
- Embodied interactions (Embedded in objects, peoples actions, human body used as part of interaction)
- TUIs connect user to the digital world through physcial interaction (Haptic, materials, body based interaction)
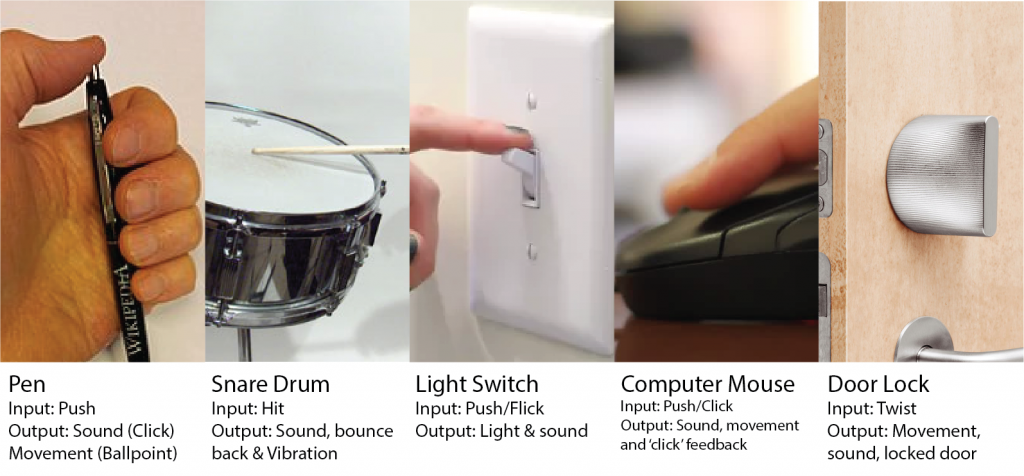
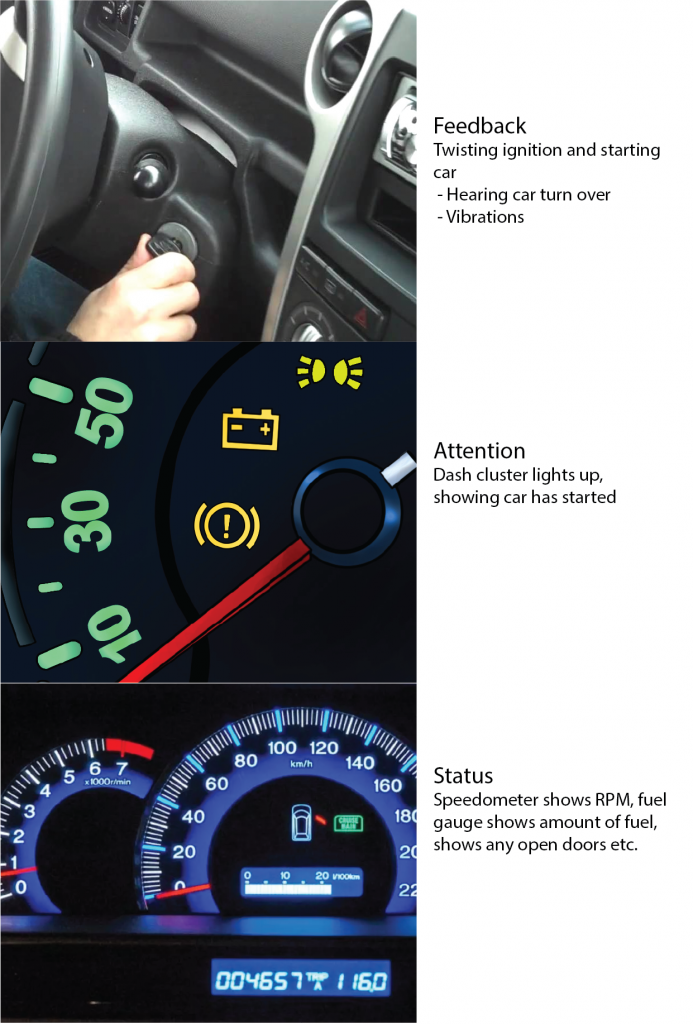
- ID6 Concepts (Action ➝ Reaction/ Input ➝ Output/ Feedback ➝ Attention ➝ Status/ Tangible Interaction)
- Action ➝ Reaction (Human/ behaviour)
- Input ➝ Output (Technology)
Weekly Reading Analysis ( Theorectical )
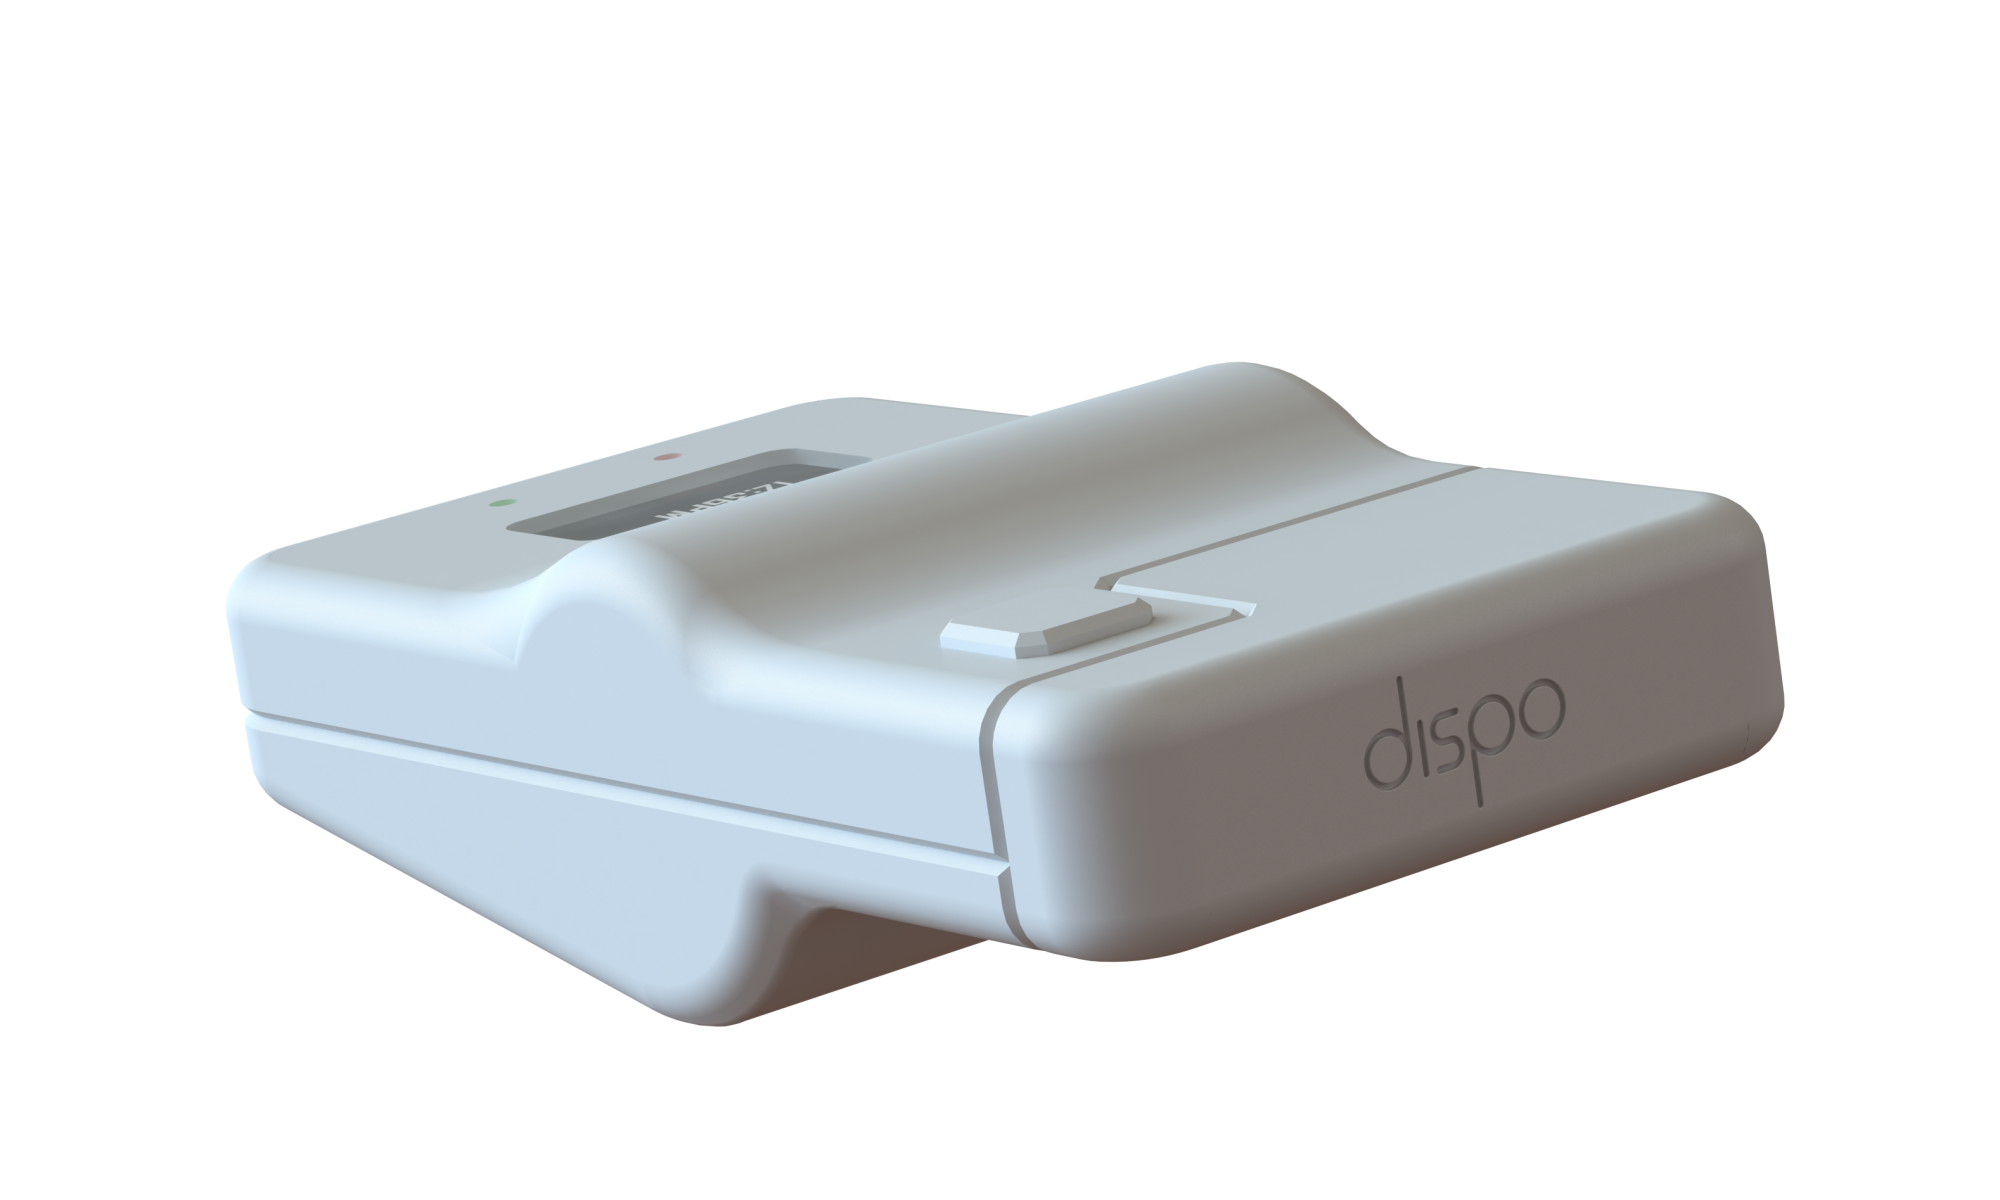
Reading 5. – Reflections on long-term development and use of automated scoring technology in a sport (modified boxing) context.
- Automated scoring technology is liked by participants (realtime scoring/ scoreboard aspect)
- Monitoring with software allows for 2 matches at the same time
- Vests fit all people of all body shapes (comfortable, flexible material/ colour scheme matches OG boxing colour way blue and red)
- Technology has advanced (better sensors/ less transceivers/ lighter/ cheaper)
- Data collection (Automated collection, summary and scoring/ Impact data/ data details such as impact duration, number of hits, valid or invalid hits)
- Equipment maintainance and monitoring (Packets received/ Sample frequency/ Vest resisitance amount measured and recorded through software for testing)
- Software can be overwhelming (Complex/ also requires a laptop to run and display scoring)
Interaction Task ( Theorectical )
- Action ➝ Reaction
- Input ➝ Output
- Feedback ➝ Attention ➝ Status
Action ➝ Reaction

Input ➝ Output
Feedback ➝ Attention ➝ Status
Inclass Arduino Experimentation ( Experimental )
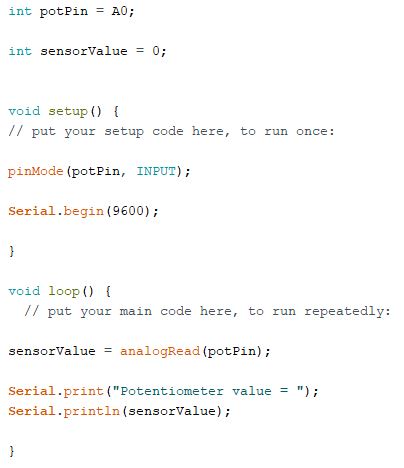
Task 1 – Analogue Input using a Pententiometer
This task involved using a pententiometer to act as an input control, measuring the amount of resistance to be equivilant to a number in a set scale.
Task 2 -Analogue Input and Output using a Pententiometer and LED
This task expanded upon the previous task, adding an LED into the circuit, creating a circuit that allowed the user to control the analogue output to the LED. This LED seemed to flicker as it was adjusted.
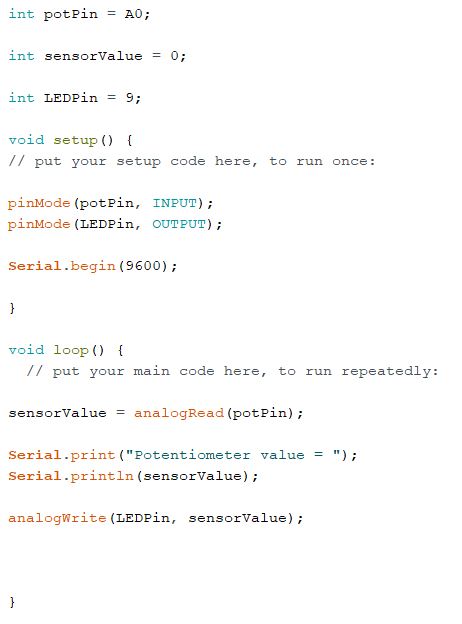
Task 3 – Using PWM
This task expanded upon task 2 by adding PWM control into the code, helping to smooth out the ‘flickering’ that was previously mentioned.
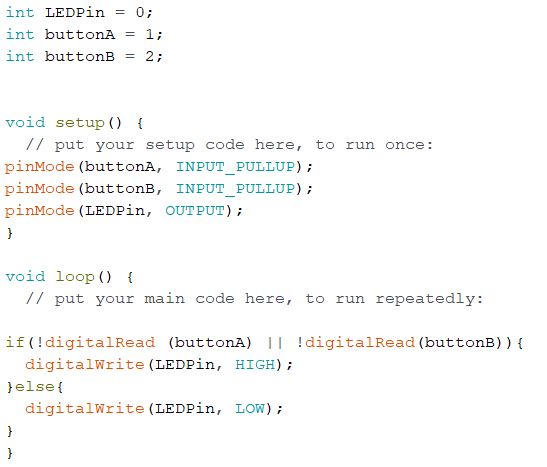
Task 4 – Two Buttons to activate one LED
This task was set up for us to go ahead and individually create a circuit that would allow a user to press two buttons to turn on an LED. I found this task enjoyable as it was a chance to remember and use knowledge that was learnt the week previously, and build upon it with new knowledge that was learnt this week.
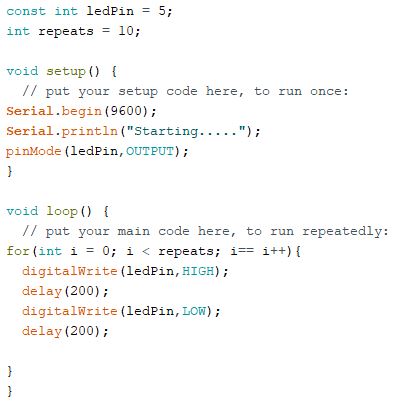
Task 5 – LED Loop Setup
This task was setup for us to build and code a LED loop, that flashed 10 times at a set speed and then stopped, waiting to be restarted with the reset button.
External Arduino Experimentation ( Experimental )
Servo Control with Buttons
I wanted to try using a servo in my upcoming technology task and as such need to learn how they work and how to control them. I followed an online tutorial to build to circuit and code. The circuit was quite similar to that of the dual switch LED task that was completed above, but the coding was quite new. Overall I’m happy with how it turned out and am excited to use this tech in my upcoming project.
Tech Task Planning and Exploration ( Design )